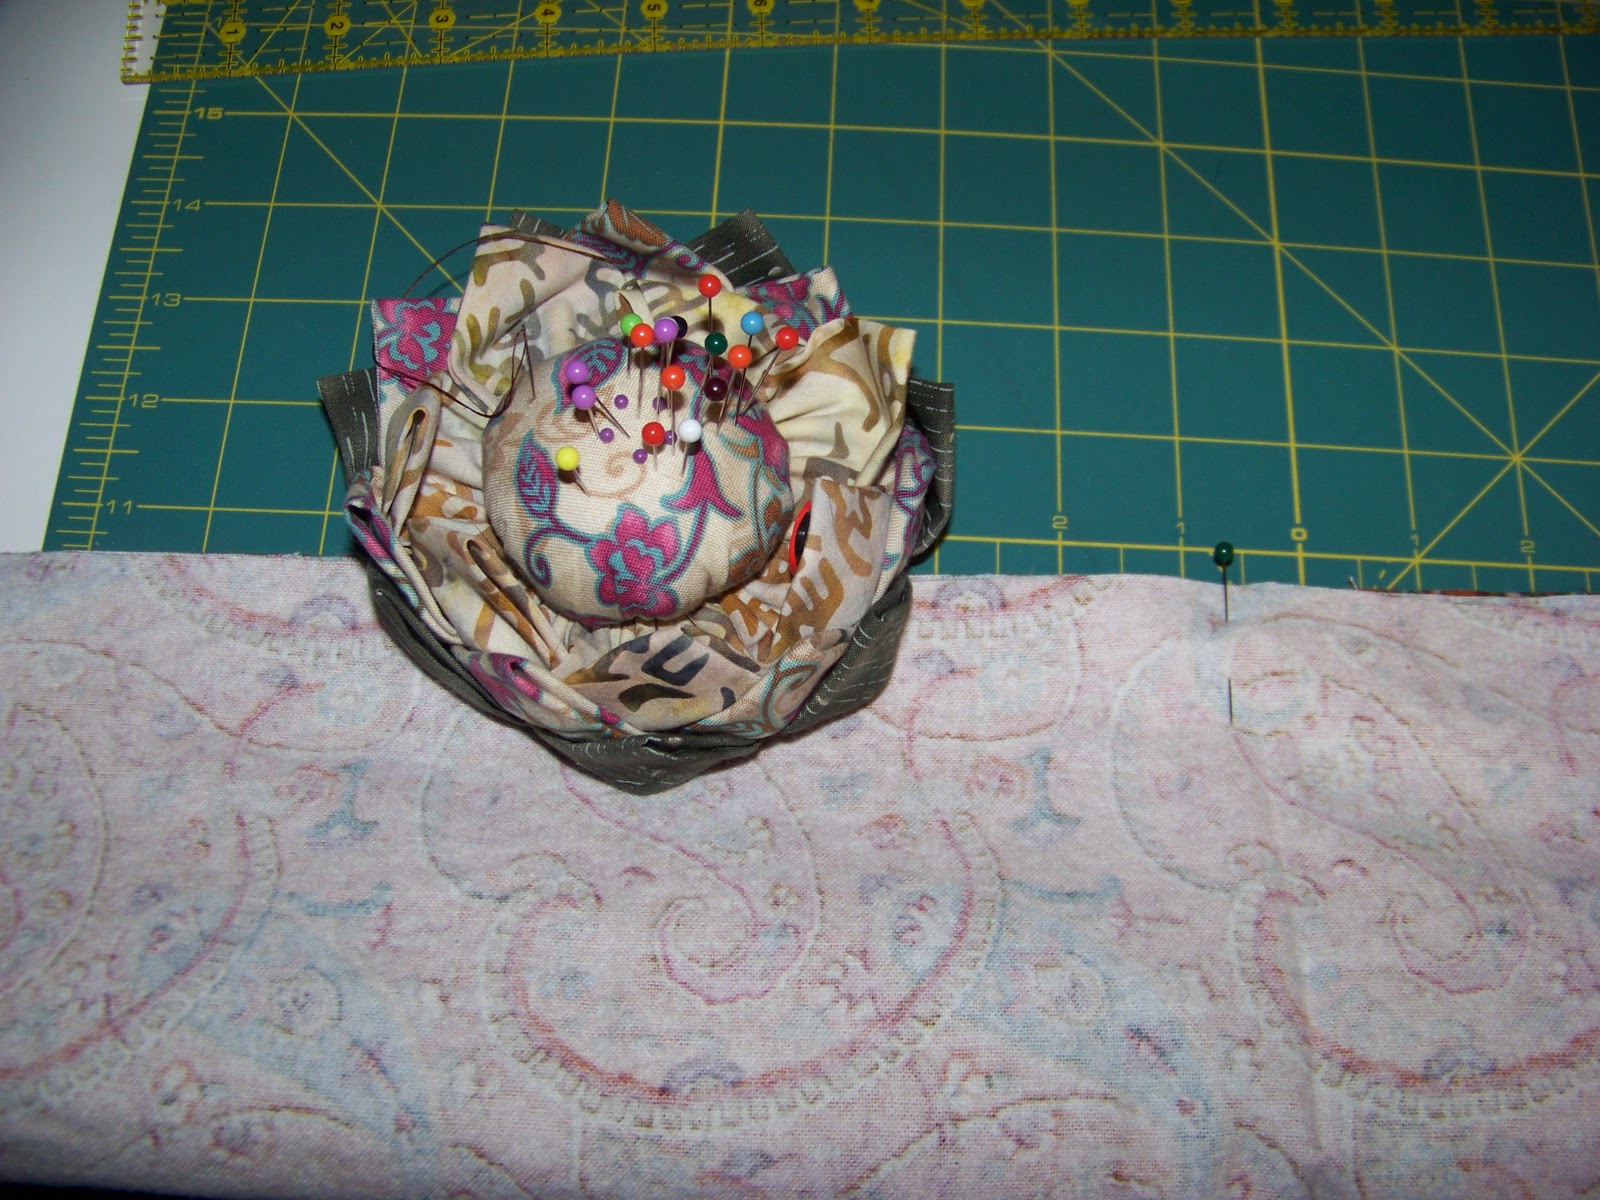
For Christmas this year, I made pillows or pillow related things. I made 8 pillowcases for various people and they all loved them. :) They are so easy to make so I decided to put an easy tutorial here so everyone can make their own pillowcases! This is my first tutorial, so be kind. Just to be clear, this is not my idea. :)
This pillowcase is called the "Magic Pillowcase" which just means that when you are done, all the seam allowances - or raw edges - are hidden.
What you will need:
27" fabric for the body of the fabric (WOF - width of fabric)
11" fabric for the sashing (WOF)
4" for the border (WOF)
Pins
Iron
Scissors
Sewing machine
Thread
For this tutorial, I decided to use the same fabric for the body and the sashing, since the pattern is so busy, and a coordinating fabric for the border. You can use three different fabrics, or even piece fabric together to form the sashing if you like. First, iron the border fabric in half lengthwise. Then, take the sashing fabric and lay it out RIGHT side up on your sewing table or cutting table. If you are using a directional fabric, make sure when you lay out this sashing fabric that the pattern is UPSIDE DOWN:
Lay your border fabric on top of your sashing fabric with raw edges along the top of the sashing fabric:
Place the body fabric on the top of the sashing and border fabric WRONG side up, matching the salvage edge to the salvage edge of the sashing fabric. This is an important step since if your fabric is directional, it will insure that the sashing and the body fabric is going in the same direction:
Now here's where we get fancy and stuff! Pick up the body fabric and roll it to about half way up the sashing fabric:
Fold up the sashing fabric and pin all layers into place. If you are using a flannel like this one, pin the HECK out of it or it will stretch on you.
Take this pinned and rolled up pillowcase to the sewing machine and sew all of it together with a 1/4" seam allowance creating a pocket of fabric with the body fabric INSIDE the sashing fabric:
Once sewn, turn the tub right side out by gently pulling the body fabric out of the sashing fabric. Iron the seam of the sashing on the back:
And the front:
Now, at this time I noticed that my border fabric was not as long as my body and sashing fabric so I trimmed it up as best I could:
Before you go any farther, you'll notice that the border fabric is only sewn on one side and loose on the folded side. At this time I would recommend sewing down the border fabric or you will have to iron it down after washing:
Next, I cut the salvage edges off the pillowcase, only because the salvages were SO wide and I was afraid that they would show after I sewed the pillowcase together. This is an optional step:
Now we are going to sew the pillowcase together with a French seam! :) First, fold your pillowcase in half lengthwise, matching up salvage edges - or where the salvage edges would have been. At this time, we are folding the WRONG sides together - trust me, it will work out - and sew up the side and bottom with either a 1/4" or 1/2" seam allowances:
Trim up the seam allowances to about 1/8" or less to make the seams less bulky.
If you're lucky, you'll get a helper!
Turn pillowcase inside out and iron the seams making sure to press out the seams out as much as possible:
Sew down the seams with a 1/2" seam allowance making sure to encase the previous seam allowance. (I don't have a picture of this as I got too carried away!) All your raw edges will be hidden and it your seams will look like this:
Turn your pillowcase right-side-out. Put on your pillow and take a well deserved nap!
These two I made for Mom:
This one I made for my MIL:
Here are the ones I made for my coworkers:
I decided to wrap these pillowcases up with their salvages since their salvages were so cute. :)
I made one for my dad too, but right when I was going to snap a picture, my camera died and I had to get all the family presents boxed up to mail bright and early the next morning so I didn't have time to charge the battery. Anyway, pillowcases are fun and easy to make and I hope you take them on too! They don't take that long to make either. Have fun! :)